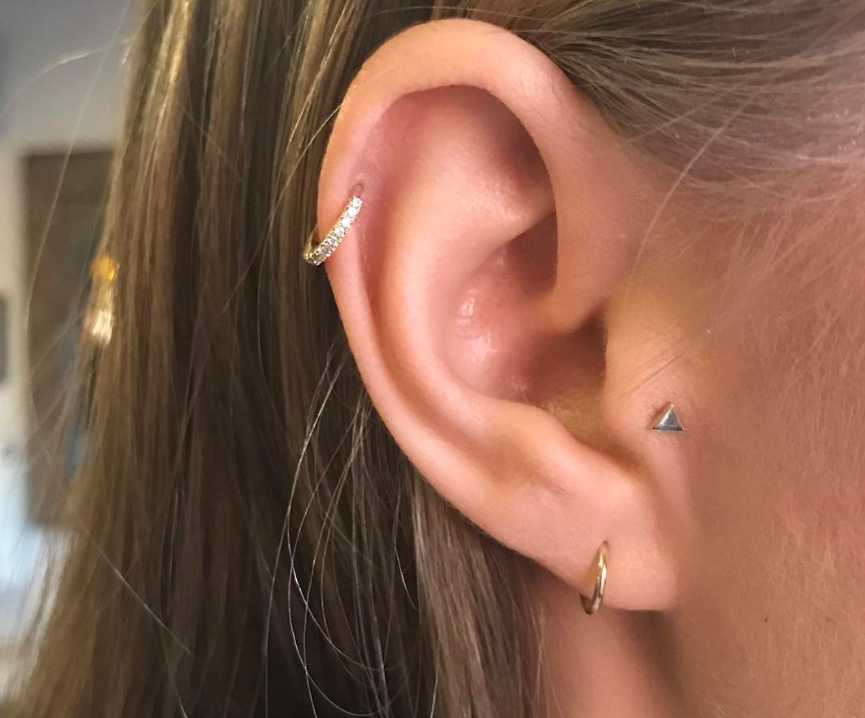
Changing the jewelry in your piercing can seem complicated, but don't worry: you've come to the right place. In this article, we'll detail the step-by-step process so you can change your helix piercing effectively.
Steps to change your helix piercing
Tips and recommendations for an optimal piercing change
It is crucial to keep in mind that each of us has a different healing rate, influenced by a variety of factors including age, immune system and even diet. For this reason, it is essential to consider your personal health and individual healing rate.
We strongly recommend waiting at least 2-3 months after getting your piercing done before changing your jewelry. This gives enough time for the wound to heal properly and minimizes the risks of irritation or infection. Also, changing your jewelry too soon can disrupt the healing process and cause complications.
Step 1: Preparing for jewelry exchange
Before changing your helix piercing jewelry, make sure you have all the necessary supplies on hand. This includes a new jewelry, antibacterial soap, gauze, and saline solution.
Make sure your hands and the jewelry are clean to minimize the risk of irritation or infection. Cleaning your hands (under your nails, between your fingers, etc.) is a crucial step to avoid bringing bacteria to your ear piercing.
Step 2: Remove the current jewelry
After washing your hands thoroughly with antibacterial soap, carefully remove the current jewelry from your helix piercing. Be patient and handle gently to avoid any risk of trauma or irritation to the pierced area.
Step 3: Cleaning the ear and the new Helix piercing jewelry
Thoroughly clean your ear and the new jewelry with gauze and saline solution. Cleaning your ear and the piercing jewelry helps remove any dirt or bacteria that may cause irritation, inflammation or infection.
Step 4: Inserting the new jewelry
Inserting the new jewelry is done after cleaning your ear. This step should be done gently and patiently.
Replacing your piercing jewelry can be done alone, with the help of a family member, or by a piercing professional. However, we recommend that, especially for your first piercing change, you consult your professional.
Piercers have the experience and knowledge to perform the change safely and efficiently, avoiding any possible trauma to your ear. In addition, they will be able to assess the healing status of your piercing and determine whether it is healed enough to allow the jewelry change, especially if it is a ring.
Their experience will help you make an informed decision, always looking out for the safety and health of your ear.
If you want to change your helix piercing jewelry at home, we recommend asking a family member for help, as screw-in jewelry is convenient to keep for a long time but more complicated to put in. Make sure your hands are always clean. Pay close attention to the healing of your piercing.
Step 5: Aftercare
Finally, after inserting your new jewelry, clean the area around the piercing again with your saline solution or your physiological serum. This helps prevent irritation and ensures that the area stays clean. In the days following the jewelry change, be sure to clean the area regularly. If you experience difficulties such as irritation, inflammation or infection, do not hesitate to go to a professional.
By following these steps, you should be able to safely change your helix piercing jewelry. Remember that patience and hygiene are key to avoiding complications and ensuring a painless jewelry changing process.
Read More:: What is labret piercing?


Leave a Reply